
If your iPhone screen is broken, you probably need a quick fix. You can easily and cheaply repair it at home. All you need is an inexpensive repair kit and a new screen. Today, China Phonefix Team will provide you with some safe and reliable repair guides.
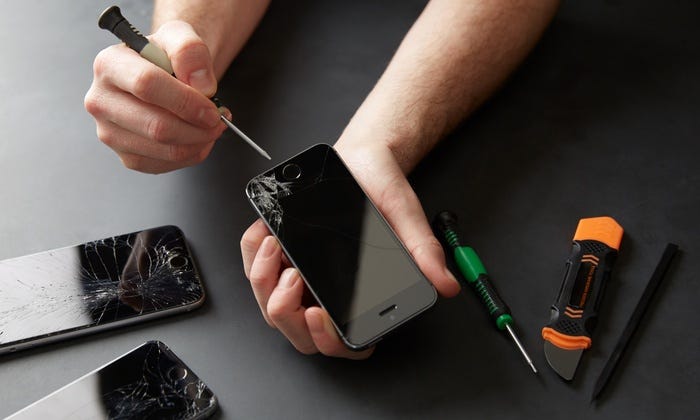
Then you find that your iPhone screen is damaged.
How to Replace iPhone Screen:
Well, this is easily solved. With just a few steps and an affordable iPhone 4 screen replacement kit, your iPhone screen is fixed plus you get to do all by yourself.
Remove the two-star screws at the base of the Phone
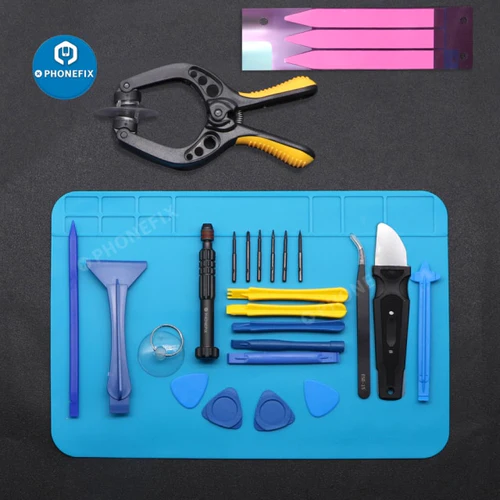
To start the iPhone screen replacement you need a star screwdriver from your repair kit. Now, getting a repair kit is quite easy and with one from Unlimited Cellular, you get to spend lesser.
Use the small star screwdriver to unscrew the star screws at the base of the phone just below the home button. Be careful not to drop the screws given that they are quite small. You could put them in a mini bowl.
Pull up the screen carefully with a Suction cup
In the array of your repair kit, there should be a suction cup. Firmly place the suction cup at the lower half of the screen such that it sticks to it. In a case where your screen is completely shattered or broken in various places, you should cover your screen with one or two strips of clear tape. This is also quite effective in keeping your fingers free of injuries.
So, after making sure the suction cup is not stuck to the home screen but just the lower half of your screen, carefully pull up the cup to lift up the frame of the screen. When one part of the screen comes up, carefully remove the cup and place it on another part of the phone (preferably a corner). Pull that part up again.
Loosen the screen:
When the lower half of the screen comes up, reach into your repair kit to get a pry tool. Now, some repair kits come with a pair of pincers or guitar picks. Gently insert the pry tool to the screen to loosen the screen from its confines.
After this, start lifting up the screen from a corner at the lower half till you get to the top but take care not to remove the screen completely since it is attached by wires to the internal components.
Taking the components apart:
Before you open your phone, it is advisable to have a camera in hand or another phone to take the photos of the components of the phone. That way, you get to keep your components intact when you are done.
After the screen is removed the next step in iPhone screen replacement is you need to be careful that there is a metal plate at the top-right corner of the phone with screws holding it in place, unscrew them and lift the plate. The wire strips connecting the phone to the screen will be revealed, release them carefully and completely lift the screen.
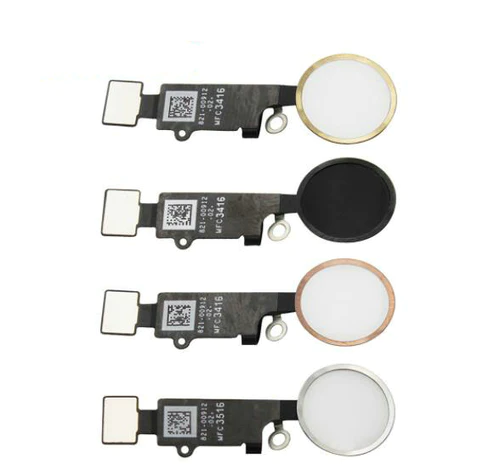
Also, unscrew the earpiece panel at the top and then, go straight to the home button at the bottom to unscrew the metal plate covering it. It should have two screws holding it in place and it might take time to unscrew them because of the adhesive holding them in place. Take your time and be careful not to mix them up with other screws.
Then, unscrew the back plate of the phone and carefully lift it and keep it apart from other components. This way, other components are easily fixed back.
Fixing your new screen:
On the new screen, set in the home button that had been taken apart from the old screen to the new screen, place the metal panel over it and secure it with the two screws earlier removed. Look at the former assembly from the pictures taken to get the real assembly. Make sure they are well aligned before moving to the next step.
Then, carefully reattach the previously removed wire strips, make sure the strips are in place, then after making sure the strips are connected to the phone, place the metal plate on them and secure it back in its place with the screws. After this, the back plate goes in next.
Attach the earpiece panel back to the phone and make sure it is well aligned. Finally, with this iPhone screen replacement DIY you need to place your screen over the phone and after making sure all the connectors and components are in place, press the screen to the phone well and secure it with the screws.
It is advisable to check through the pictures taken to ensure you got everything right and if your phone does not immediately respond, recheck everything again.
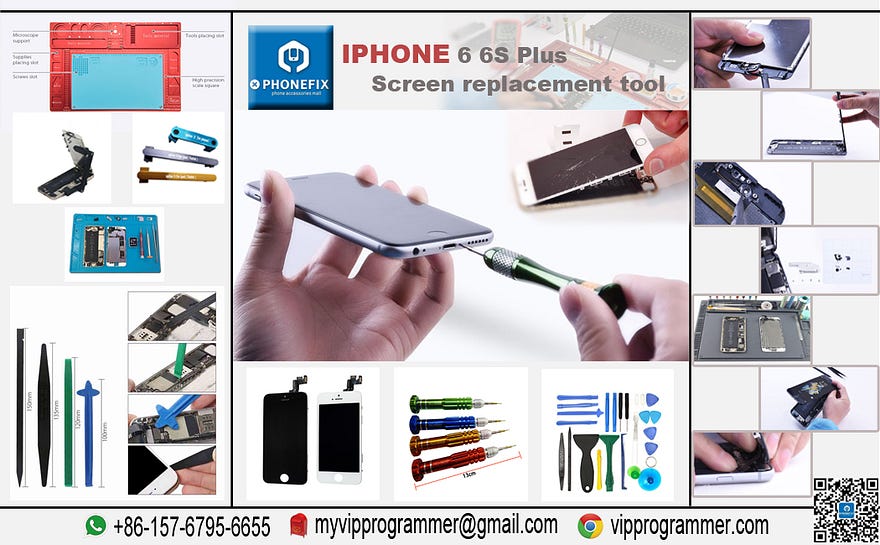
According to the above mobile phone repair steps, you can repair and replace your iPhone screen, if you need the above repair tools, welcome to visit the Phonefix online store.
