We All Know, The iPhone Touch ID chip matches the main board perfectly. If a new iPhone Home button modified ID function disappear, unique chip also changed. However, your Home button is unfortunately damaged, how do we fix it without losing the touch ID? Most people don't know what to do to make sure their phones work properly. Today, the VIP Pro Shop Team will introduce how to repair the damaged iPhone 7 touch ID. follow this article and see more details.
Required Tools for iPhone 7 Home Button ID Repair:
– Hot Air Gun
– Electron Microscope
– BGA Paste Flux
– Screw Drivers
– Tweezers
– Glass Lens
– Digital Multimeter
– Anti-static Wrist Strap
– Mobile Phone Repair Platform
Detailed steps for iPhone 7 Home Button ID Repair:
1. Go to settings – Touch ID & Passcode – enter your passcode, fingerprint is grayed out.
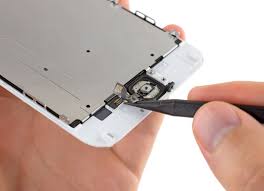
2. Remove the iPhone 7 home button flex cable.
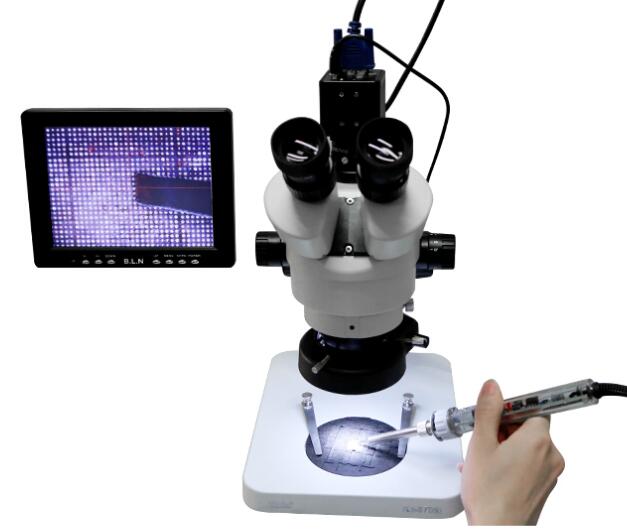
3. Observe the home button flex cable under the Trinocular Stereo Microscope, the ribbon cable is broken.
4. Scrape the coating off the wire on the ribbon cable with knife.
5. Apply some BGA paste flux and solder the tins with soldering station.
6. Scrape the coating off the wire on the reverse side.
7. Apply some BGA paste flux, then solder the tins with soldering station.
8. Cut the wires then align them correctly, heat it up with hot air gun and weld.
9. Turn the flex cable to the reverse side, weld it with the wire.
10. Test if it is short circuit with digital multimeter.
11. Install the home button and test.
12. Apply some UV curable solder mast on the wire to fix the wielding joint.
13. Install the LCD screen assembly and test, fingerprint works well.

Tips: More iPhone Repair free Skill or other Mobile Phone Repair details, you want to consult, please check here.